Embossing, Coloring, and Sealing Copper for Unique Jewelry
Almost a year ago, I posted about some metal bits that I had embossed and colored here: https://mieloabelo.com/rediscovering-metal-work-part-1/. This weekend, I did more of that and created a short video for my YouTube channel. It’s been a long time since I have posted anything there. I think it took longer for me to create the video than it did to complete the projects!
For these projects, I used my Big Shot embosser and two different texture plates. I also experienced a failure trying a plastic folder. Those sometimes work with 24 gauge copper but usually do not produce highly defined results. Using a DecoEmboss plate by Vintaj designed specifically for metal was highly successful, but sadly, there just aren’t many patterns available. I continue to scour the internet for new options or different manufacturers. The photo below is one of the pieces using that plate:
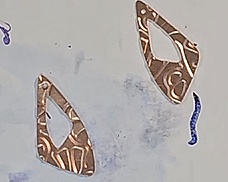
It’s blurry because I grabbed a screen shot of a video. I did not have the foresight to take enough photos for this blog post!
The second method, almost as successful, was a metal texture plate. It is designed for a proper rolling mill, but it goes through the Big Shot very well. In the past, I had some small pieces stick to the plate, but I did not have the issue this time. My previous solution to put it in the freezer worked, so not all was lost.
The second phase of the project was to color the pieces. I have been experimenting with various paints and my favorite so far is alcohol ink. I don’t know why, I am just drawn to the effect of alcohol ink on metal, even more than inks made especially for metal. I recently purchased some pens, you can see my blog about that here: https://mieloabelo.com/how-do-you-overcome-creative-block/
I used a polish pad and buffer by Vintaj to remove the ink from the raised parts, letting the copper shine back through. The below photo is all of the colored pieces:
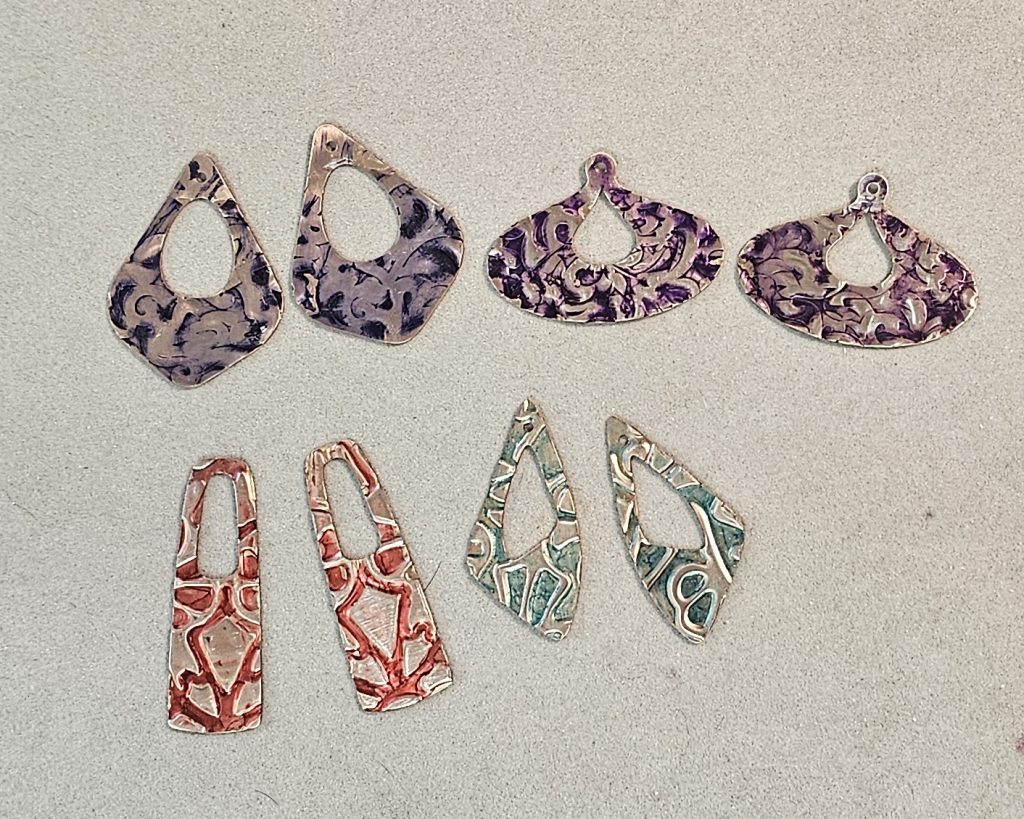
The pieces on the top row appear the same color, but the diamond shaped on the left are blue, which the pieces on the right are purple.
The third phase is sealing. I have blogged a couple of time about sealing torch colored copper, but the alcohol ink proved to be a little more challenging than I expected. I chose to seal the bottom pieces with Krylon clear coat because it just seemed more aesthetically appropriate.
However, for the top two pieces, I wanted a little extra, so I decided to give UV resin a shot. That is when things got interesting. I started with the purple. I took my time, trying not to pour too thick. I let the resin settle and cleared the bubbles. Everything was going according to plan until about 3 seconds under the UV light. The process is fast, so when I saw the resin beginning to spill over one of the pieces, I knew the curing had already started and there was nothing I could do to stop it. The other piece magically cured just fine with no spillover. Resin is weird like that.
I was disappointed, but luckily, I was able to trim the excess resin using my Joyce Chen scissors. Unfortunately, I did not get so lucky with the blue diamond shaped pair. First, as you will see in the photo, only one survived the experiment, and the other was barely salvageable. Resin leaked not only over the outer edge, but the inner space as well, which I was not able to trim with scissors. I tried filing, which worked well enough for it to become a pendant for my own personal necklace, but as with the purple piece, it just isn’t good enough to sell.
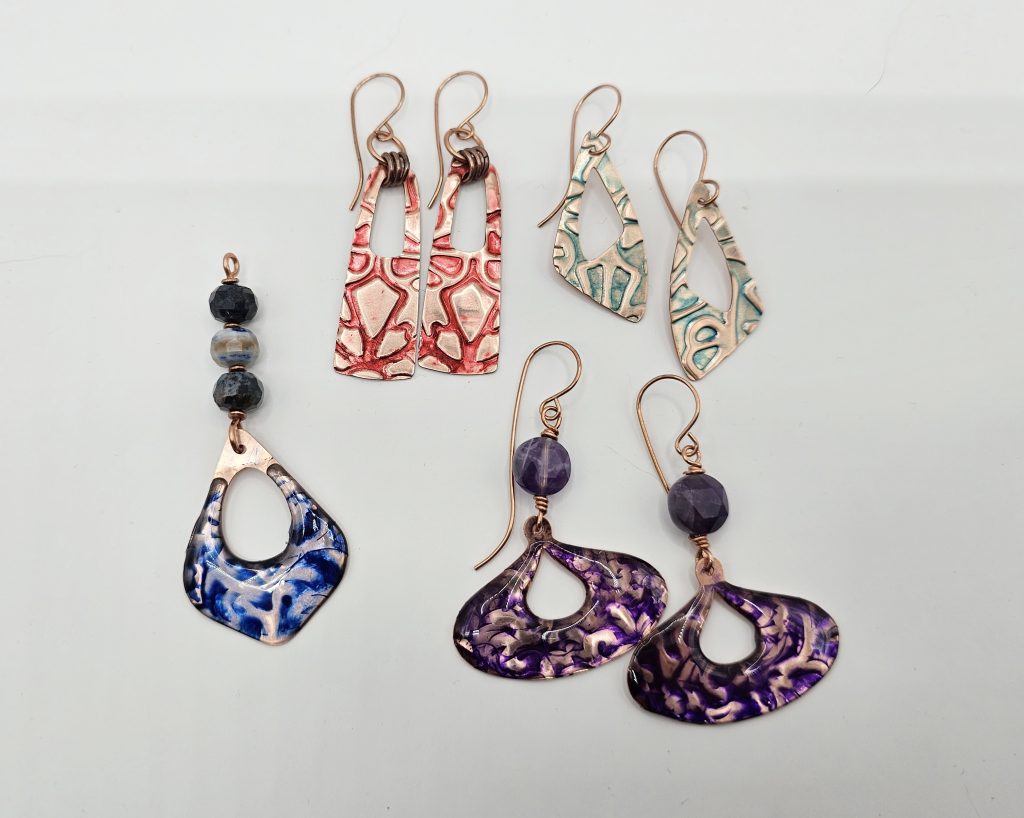
I reached out to the experts in a helpful UV resin group and got some good advice, so I will definitely be trying this again. I am experimenting with other paint and ink methods, but I love the alcohol ink and the light reflecting effect of the resin is just too stunning! I am determined to make this work.
Here is the video of the process, it’s under 2 minutes:
Please check back soon for more news and visit my secure Square Online shop to purchase!